Lacrimosa Discord (all-rounder)

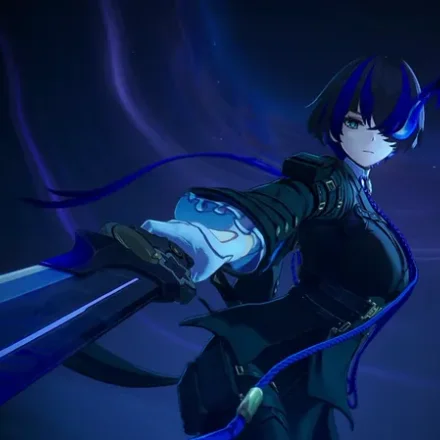


Daffodil sets up Break and Discord, Sagiri adds Scorch synergy plus a team ATK buff, and Haniel buffs the active slot — opening strong damage windows for Lacrimosa's Nightmare DoT and Chaos damage.

Sagiri is a 5★ Incantation character of the Gas arc who fills a Buff role, making her a supportive pick aimed at strengthening her allies. Without an established tier placement, her standing in the meta remains flexible, leaving her value largely dependent on how well she complements the teams built around her.
A support who sets up crowd control and team ATK: Good Boy's Grand Adventure grants her the full Team ATK buff because her Suppress counts as control, plus charge efficiency. Speedy Hedgehog is the recommended cartridge. (Some community guides romanise her name as 'Sakiri'.)
Recommended setups from community build guides (~June 2026); not the only viable option.
Sagiri is a support-oriented Incantation buffer who builds tempo around locking enemies down before her allies unleash damage. Her gameplay loop centers on applying crowd control that the team can exploit, then layering a team-wide ATK buff that scales the entire squad's output. She thrives as the enabler in hypercarry compositions, setting up the immovable window so a dedicated DPS can pour in damage uninterrupted. Because her control reads as suppression, she unlocks the full team ATK bonus from her best Arc, making her contributions both offensive and defensive. Rotate her Ultimate first to establish control and the buff, then weave Skill and Basic Attack to sustain pressure. She slots cleanly into Hypercarry, Break, and budget teams, gluing rosters together rather than carrying alone.
Lead with the Ultimate, since it anchors her control and the team-wide ATK buff that defines her value. Level the Skill next to reinforce buff frequency and pressure, followed by Basic Attack to keep charge generation steady between rotations. Leave the QTE for last, as it contributes the least to her core support loop.
Run ATK% in the first main-stat slot and CRIT DMG in the second to push both her buff scaling and any incidental damage. For substats, prioritize ATK% first, then CRIT Rate, then CRIT DMG, with flat ATK as the lowest fallback. This keeps her amplification ceiling high while preserving consistency.
Equip the Speedy Hedgehog cartridge as her best-in-slot module to reinforce her tempo and charge efficiency. Pair it with a four-piece Type 3 module set to round out her support profile. Allocate stats toward ATK% in the first slot and CRIT DMG in the second, then chase ATK% substats to maximize the strength of her team buff.
Prioritize A4 first, as it delivers the most impactful upgrade to her support kit. A1, Diffusive Haze, is the next target since it stretches the immovable control window from Feast of Gluttony to six seconds, giving allies a longer exploit window.
Invest enough to comfortably clear her core rotation and sustain buff uptime. Since she is a support rather than a damage carry, prioritize ascension levels that unlock and strengthen her Ultimate and control first, then round out her sustain and charge stats.
Daffodil sets up Break and Discord, Sagiri adds Scorch synergy plus a team ATK buff, and Haniel buffs the active slot — opening strong damage windows for Lacrimosa's Nightmare DoT and Chaos damage.
A sustained Scorch-DoT Discord comp that keeps enemies under constant Nightmare pressure — strongest in longer fights where the damage-over-time compounds.